Preparing your pool for winter is an important task to protect it from the cold, reduce maintenance costs, and ensure a smooth spring opening. Pools covered with thick reinforced PVC membranes (such as Cefil 60 mil pool liner) are among the easiest to prepare for winter due to their non-porous, flexible, and durable structure. This brief but comprehensive guide outlines the key steps for winterizing a PVC membrane pool, taking into account its unique properties, helping homeowners effectively protect their investment.
Why Winterizing a PVC Membrane Pool Matters
Thick reinforced PVC membranes, known for their 20–30 year lifespan and resistance to algae, stains, and UV rays, require minimal maintenance compared to plaster or tile. However, freezing water, debris, or chemical imbalances can still negatively impact the membrane or equipment, potentially leading to repairs. Proper winterization prevents these issues, saving time and money while extending the life of the membrane.
Step-by-Step Winterizing Process
Follow these steps to effectively prepare your PVC membrane pool for winter, ensuring protection in both low temperatures and moderate climates:
Step 1: Clean the Pool Thoroughly
- Why: High-quality thick PVC membranes are coated with a layer of protective acrylic varnish with antibacterial additives. These prevent the appearance of organic stains. However, debris such as leaves or dirt can settle and leave small stains. Although the non-porous surface of PVC membranes significantly reduces the possibility of their appearance, as well as the growth of algae, compared to plaster.
- How:
- Use a skimmer net to remove floating debris.
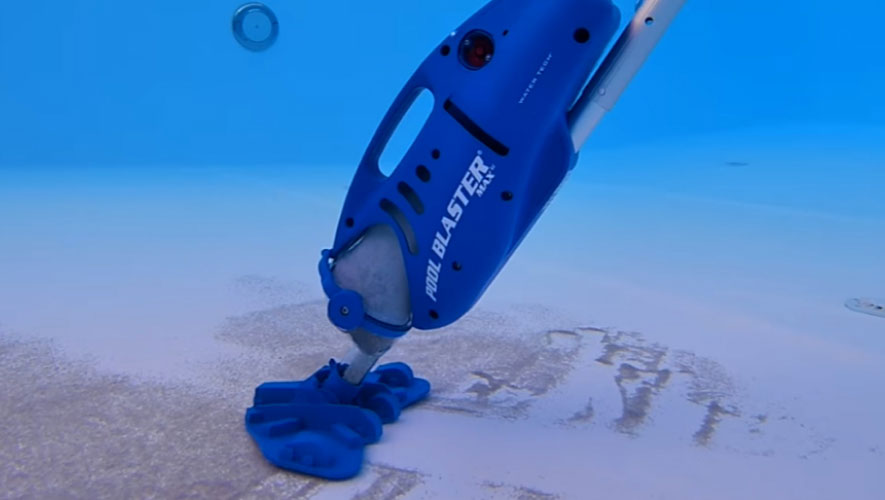
- Vacuum the bottom of the pool and gently clean the walls with a soft brush to avoid scratching the membrane.
- Spot clean stains with a special mild PVC cleaner.
Tip: The smooth surface of PVC membrane requires less effort than plaster, saving 1–2 hours of cleaning time.
Step 2: Balance Water Chemistry
- Why: The correct chemical composition prevents corrosion of the equipment and possible slight discoloration of the membrane.
- How:
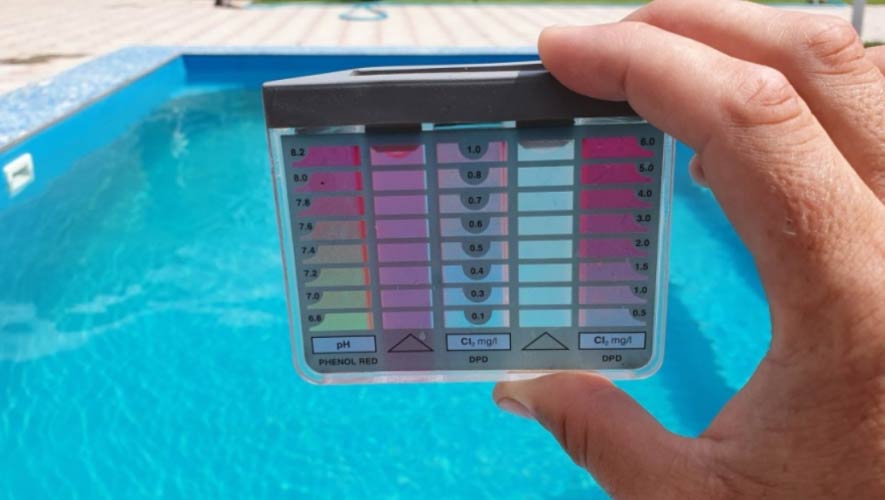
- Check and adjust pH (7.2–7.6), alkalinity (80–120 ppm), and calcium hardness (200–400 ppm) using a test kit ($10–30).
- Add a winter treatment chemical kit (algaecide, shock, $50–$100). PVC requires 15–20% less algaecide than plaster due to its resistance to algae, saving you $10–$20.
- Perform a light shock treatment of the pool (1–2 ppm chlorine) to kill bacteria without over-treating.
Tip: Avoid excessive chlorination, as PVC liners are sensitive to excessive amounts of chemicals, which can damage the appearance of the membrane over time.
Step 3: Lower the Water Level
- Why: Lowering the water level prevents damage to pipes from water expansion when freezing.
- How:
- In mild climates (no freezing temperatures), lower the water level 4–6 inches below the skimmer to maintain circulation if it is partially open.
- In cold climates, lower the water 12–18 inches below the skimmer (for in-ground pools) or return jets (for above-ground pools) to protect the pipes.
- Use a submersible pump ($50–$150) to effectively drain above-ground pools.
Tip: The high strength of PVC membranes allows them to withstand ice expansion, but in areas with severe frosts, always drain the water to avoid stress on the seams of above-ground pools.
Step 4: Drain and Winterize Equipment
- Why: Water remaining in pumps, filters, or pipes may freeze, causing cracks (repairs ranging from $500 to $2,000).
- How:
- Completely drain pumps, filters, heaters, and chlorinators.
- Blow out water pipes with a vacuum cleaner or air compressor ($100–$200) to remove all water.
- Add non-toxic pool antifreeze ($10–20 per gallon) to the pipes to prevent freezing.
- Remove and store accessories such as ladders or diving boards indoors.
Tip: Mark equipment parts during disassembly to facilitate spring reassembly.
h3 Step 5: Install a Winter Cover
- Why: The cover protects the PVC membrane from debris, UV radiation, and ice, preventing seam deformation and fading.
- How:
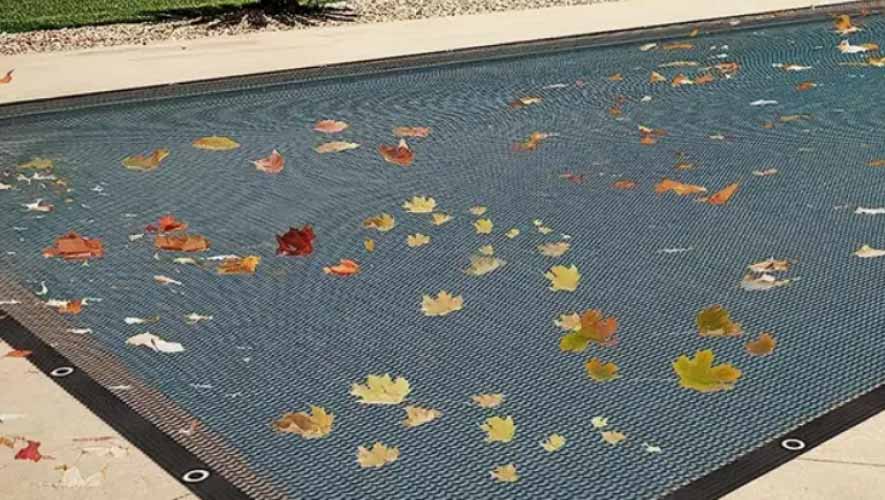
- Choose a mesh cover ($200–$500) for PVC pools, as the membrane is more resistant to UV rays and stains than plaster or tile. Solid covers ($300–$800) are suitable if you are concerned about heavy debris.
- Secure the cover tightly with straps or anchors to prevent wind damage.
- Ensure there are no gaps where debris can enter.
Tip: Mesh covers are cost-effective for PVC pools and allow rainwater to pass through, which cannot damage the pool and reduces the risk of puddles forming.

Additional Tips for PVC Membrane Pool Owners
- Start Early: Begin preparing for winter in early fall (September–October) to avoid sudden frosts, especially in cold regions.
- Monthly: Check the pool cover for tears and water accumulation. Remove snow in frosty regions to reduce weight.
- Inspect the Membrane and Seams: Before covering the pool, check the membrane for tears or damaged seams; repair minor defects with a PVC repair kit ($20–$50) or contact a professional for more serious repairs.
- Use Eco-Friendly Options: Choose biodegradable algaecides and solar-powered cover pumps ($50–$100) to reduce your environmental impact.
- Spring Prep: When opening your pool in the spring, lightly rinse the membrane with water to remove settled dust; its non-porous surface makes it easier to start up than plaster.
Climate Considerations
- Freezing Climates: Prioritize draining water and blowing out pipes. If heavy snowfall is expected, use a sturdy cover.
- Mild Climates: Maintain water levels (4–6 inches below the skimmer) and minimal chemicals, as PVC liners are resistant to algae and UV rays, simplifying winter maintenance.
Cost Breakdown:
- Supplies: Winterization kit ($50–$100), antifreeze ($10–$20 per gallon), cover ($200–$500) = total $260–$620.
- Professional Help: Optional for complex tasks such as blowing out pipes or checking the membrane surface for damage ($200–$500).
- Savings: Low maintenance costs for PVC membranes reduce chemical costs by 15–20% compared to stucco, saving $50–100 per year.
Have Questions?
Talk to our specialist! Just fill out the form, and we’ll give you a call!
Conclusion
Preparing a PVC membrane pool for winter is easy thanks to its non-porous, flexible, and durable structure, which requires less effort than pools with plaster or tile. With easy cleaning, chemical balancing, lowering the water level, preparing equipment for winter, and installing a cover, you can protect your pool from winter weather. These measures allow you to avoid costly repairs, maintain the 20-30 year service life of the membrane, and ensure that your pool is in perfect condition by spring. For expert advice on PVC membranes, contact the specialists at SAKKO POOL, and your pool will always be in excellent condition.
